Quick step-by-step instructions on how to set up a bunny.net CDN Stream that will work with OTTfeed platform.
1. Sign up for a bunny.net account by clicking on the link below:
https://bunny.net?ref=66x37z22mi
Note: Remember to recharge your Bunny account by adding a credit card in the billing section before the 14-day free trial expires.
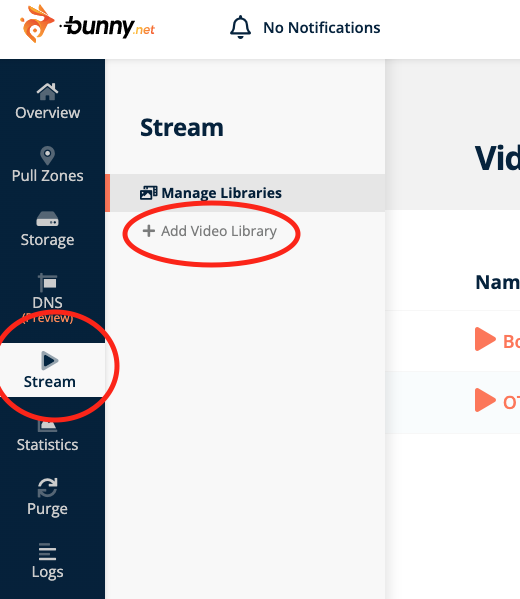
2. Once you have an account with bunny.net, go to “Stream” and “Add Video Library”.
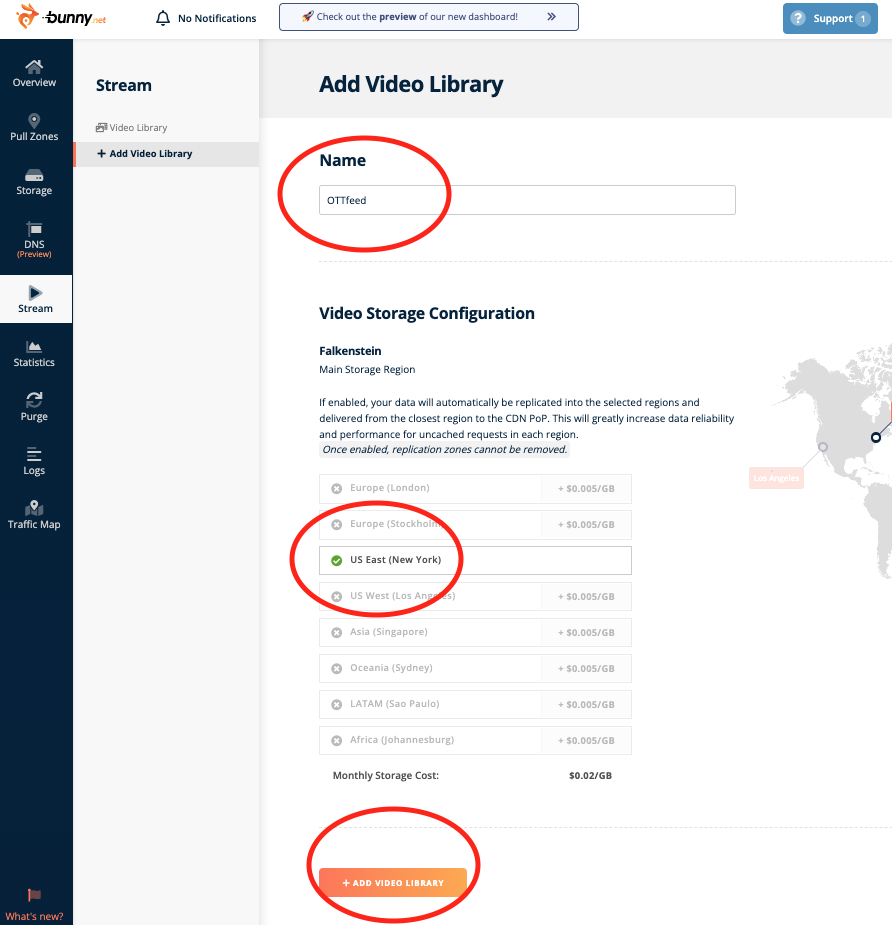
3. Enter a name (e.g., OTTfeed), select at least one Region in US (e.g., US Easy (New York)), and click “Add Video Library”.
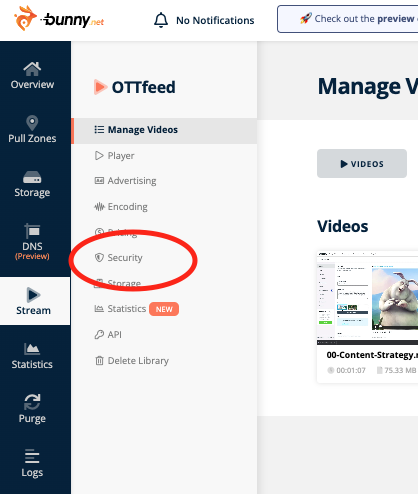
4. Click on your video library (e.g., OTTfeed) and then on “Security”.
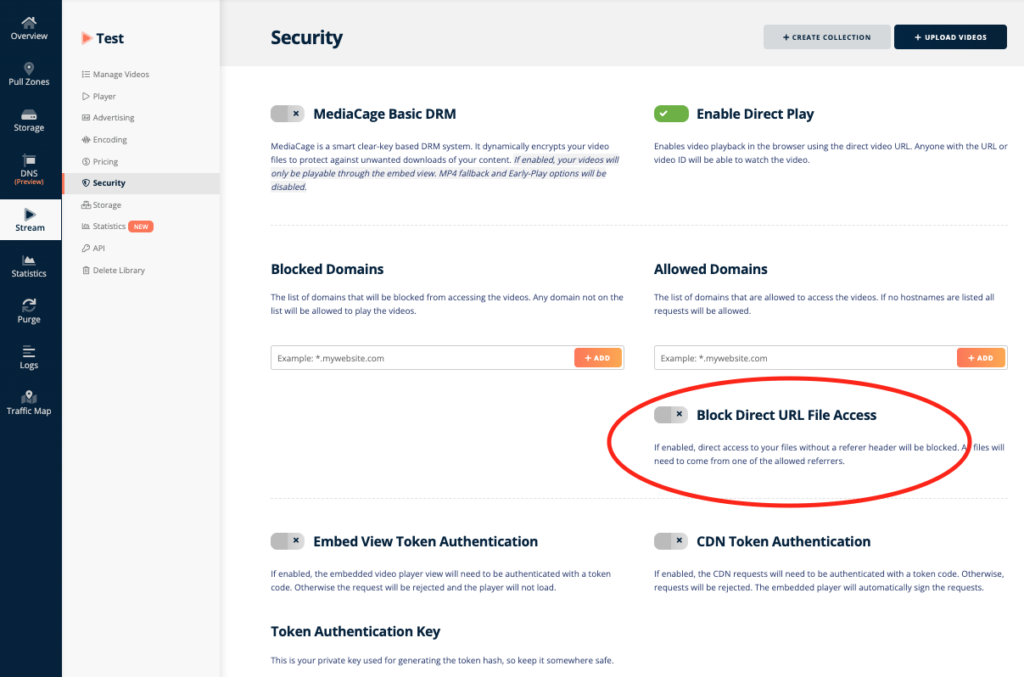
5. On the Security page make sure you disable “Block Direct URL File Access” it has to be grayed out not green.
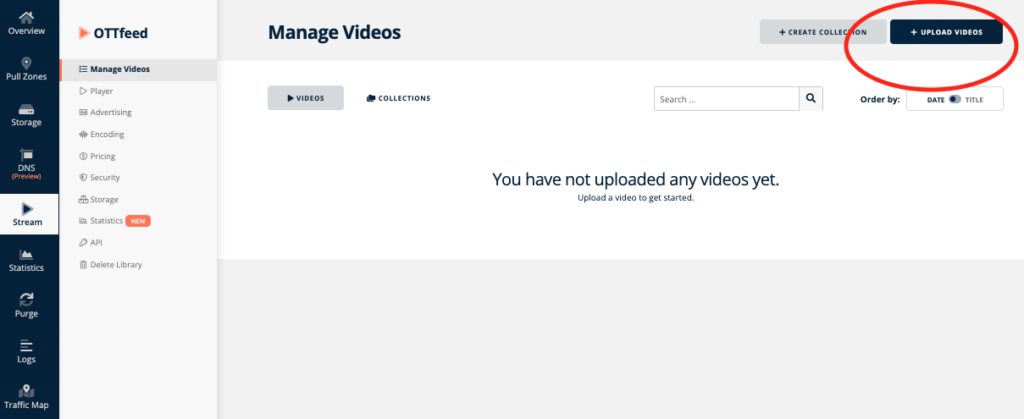
6. Go to “Manage Videos” and start uploading videos by clicking “Uploading videos” button.
7. The next step is to Connect your Bunny.net stream to OTTfeed Platform.