Note: if you use Bunny CDN for video storage, refer to our OTTfeed Quickstart Guide (OTTfeed + Bunny CDN), for Vimeo go to OTTfeed Quickstart Guide (OTTfeed + Vimeo). For storage options other than Vimeo or BunnyCDN, follow the steps in this post.
- Log into your OTTfeed account https://my.ottfeed.com.
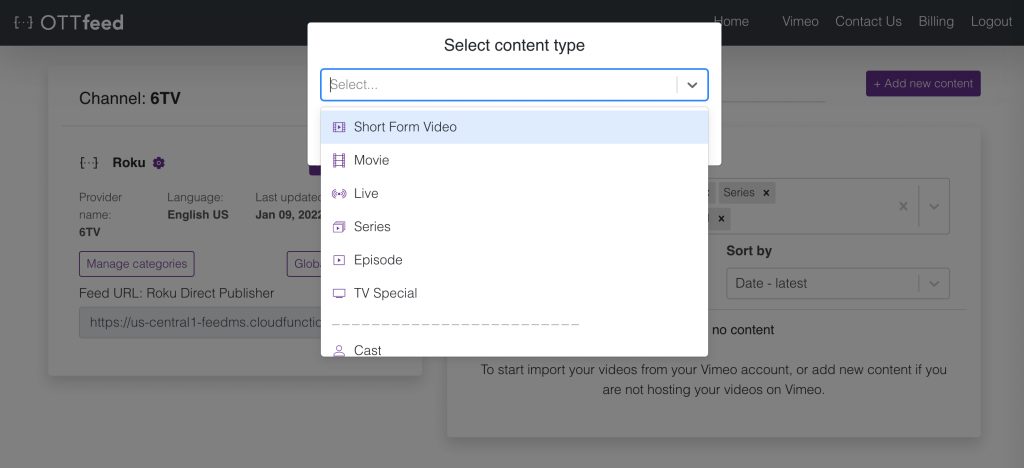
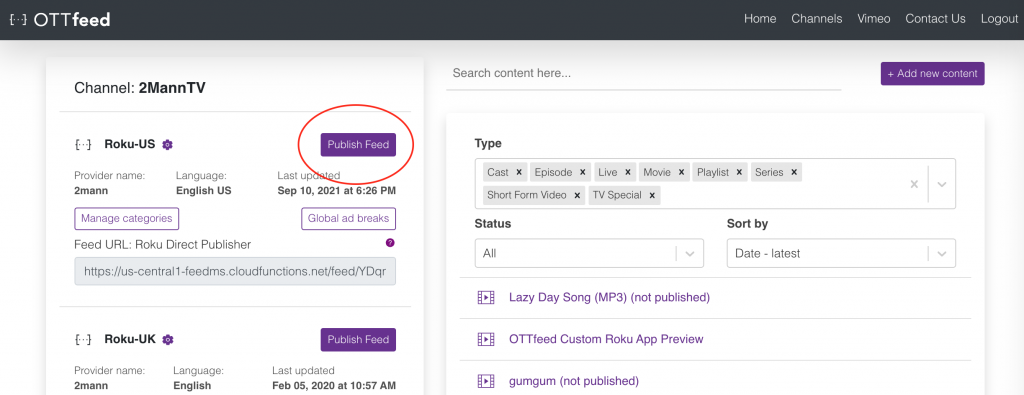
- Add new content by clicking the “Add new content” button.
![]()
- Select your video type, the most common type is short-form video, read more about different types.
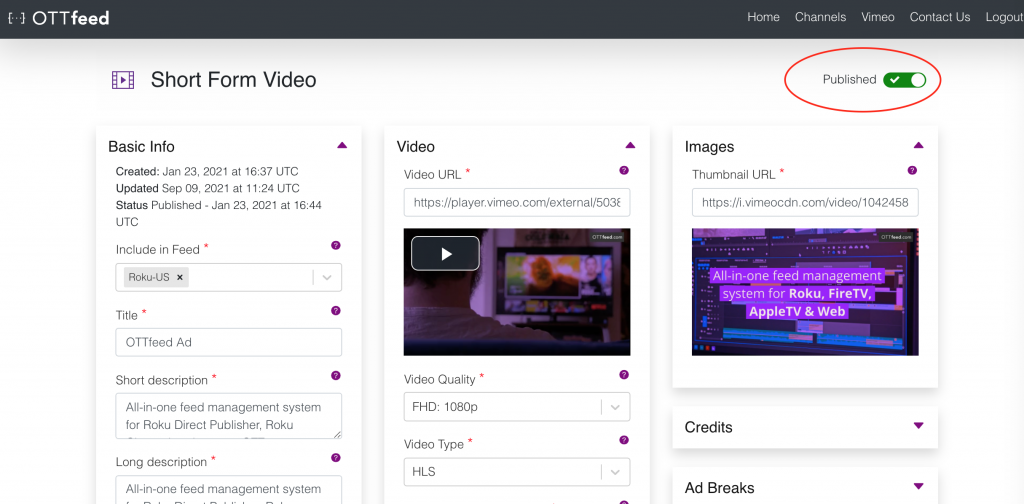
- On the video detail page, make sure you enter all the required metadata to publish your video (e.g., title, description, tags, etc.).
Note: We don’t host any files on our platform, all the files (e.g., video, thumbnail, etc.) must be hosted on a third-party server or a CDN. Make sure all your URLs are accessible from outside your hosting server.
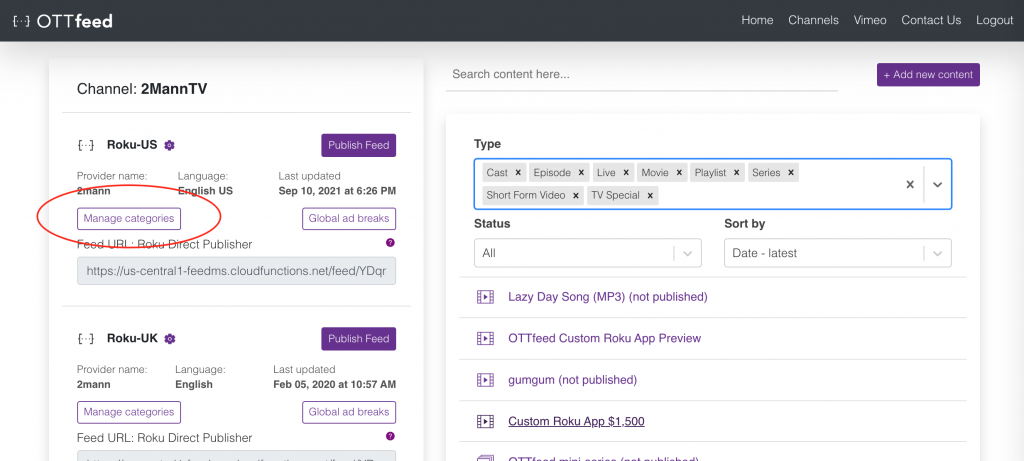
- After all your content is ready and published, go to “Manage categories.”
- On the Categories page, you can create your categories in two ways, using titles or tags.
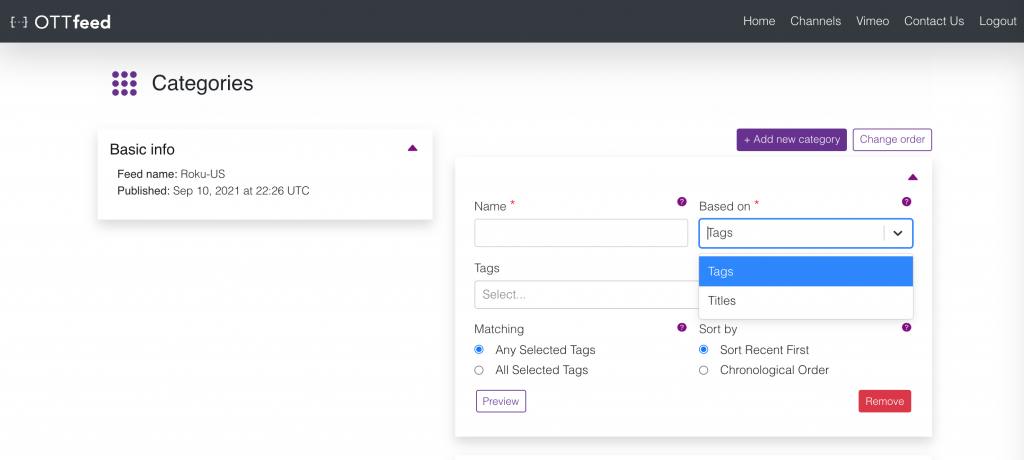 For more information about categories, check out our Create Categories article.
 - When ready to publish your changes, navigate to the homepage and click “Publish Feed.” This action generates a static JSON file containing all your published content metadata, enabling your application (e.g., Roku) to access it.
- Launch your application (e.g., Roku) and check for the latest changes.
